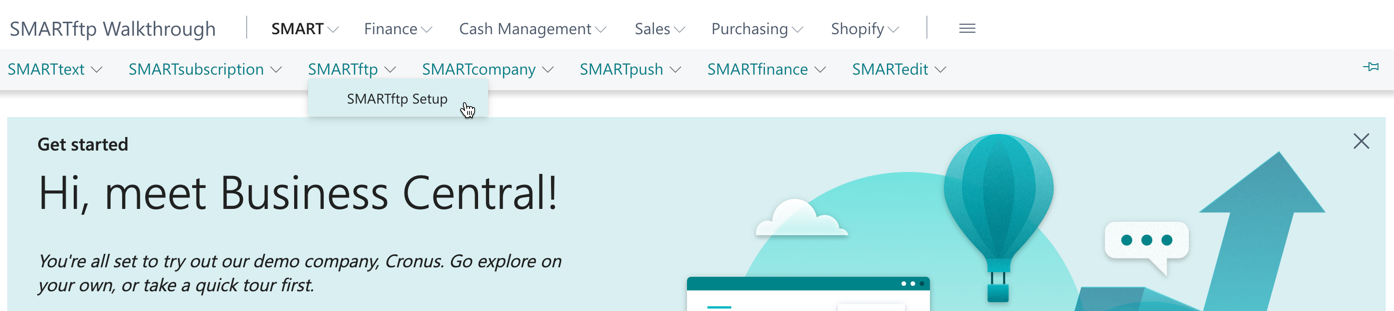
#
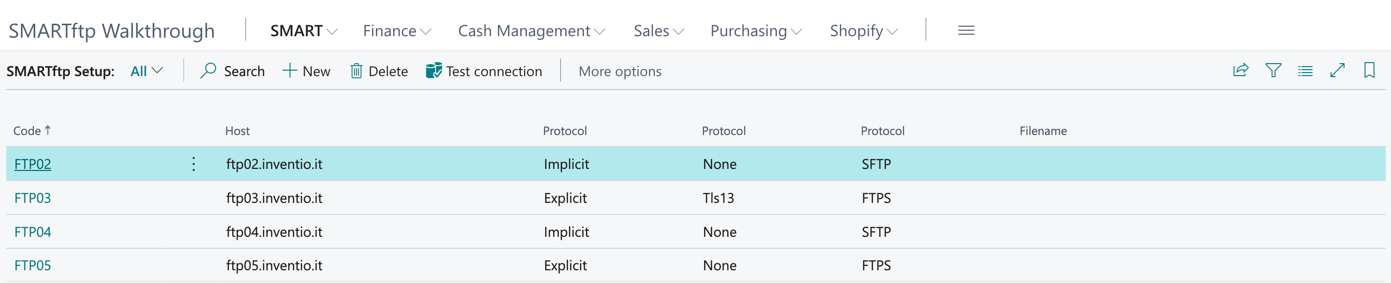
Click on New to add a new FTP server.
Enter the settings for the FTP server you would like to connect to.
Code #
The Code is a unique identifier that you assign to this configuration to distinguish it from others. It serves as a convenient reference point, allowing you to easily recognize and manage your configurations.
It can be a name, a number, or a combination of both, aiding in differentiating between various FTP server setups.
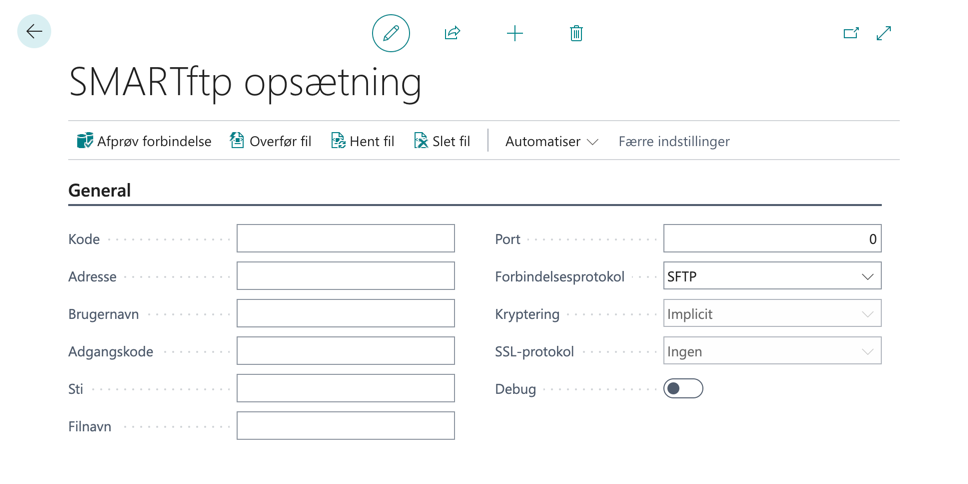
Filename #
Use the File Name field for both uploading and downloading. When downloading, specify the file you want to retrieve, and during uploading, the file will be renamed to the provided name."
Host adress #
Please provide the full address of the FTP server you want to connect to.
Note
The name you specify must be a domain-name that is included in the certificate used by the FTP services (Subject Address name). It must not be an IP address!
Port #
Enter the port number used by the server for communication.
Note
Default:
SFTP = Port 22
FTPS = Port 990
Protocol #
Choose whether to use FTPS or SFTP for secure communication.
Encryption Method #
Choose which encryption method to be used.
Security protocols #
Choose which Security protocols method to be used.
Note
When choosing a security protocol, it is ideal to opt for TLS instead of SSL, as SSL has been considered insecure due to vulnerabilities. Therefore, TLS is the recommended protocol for secure communication between clients and servers.
Test Connection #
After configuring everything, you can click Test Connection to check the communication between Business Central and the FTP server.
Important!
SMARTftp only support publish sign certificate.