Bankaccount setup #
Click on the SMARTbank tile labeled “Overview” to begin the setup. If this is your first time setting up SMARTbank, the tile will show 0 in the counter.
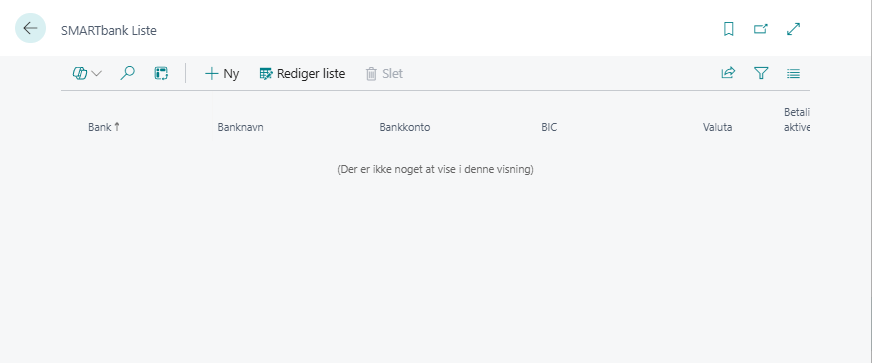
Business Central will now open a new page titled “SMARTbank List.”
Click “New” (1) in the ribbon at the top of the page.
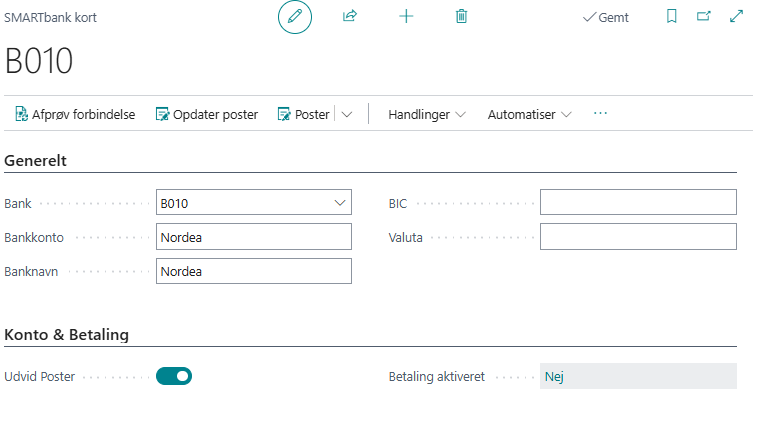
Select bankaccount #
In the “Bank”(2) column, select the Business Central bank account that should be connected to your online banking. Once selected, the remaining information from the bank account will be automatically populated.

Assign account info and activation key #
Click the 3 dots(3) next to the Bank Account Code.
This opens the SMARTbank account card. From here, you need to enter the account details and integration code for the selected bank account. The information can be found on Bankintegration.dk.

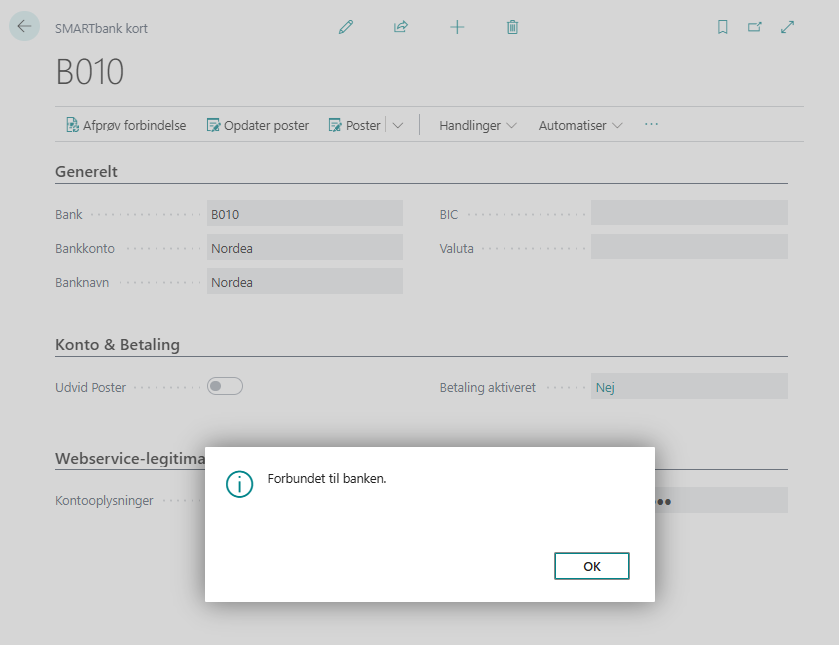
Test connection #
Once the information has been entered, test the connection by clicking “Test Connection"(6)
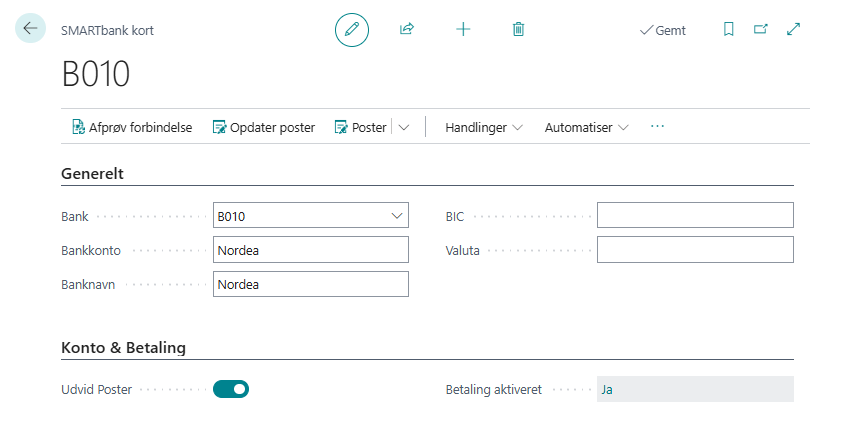
Expand transaction data #
"Under the section Account and Payment, check the box Expand entries (7) if extended transaction data from the bank is desired."
Activate eksport payments #
Activate the Payment Enabled (8) feature by clicking No. The field will then update to Yes.